Hey Java enthusiasts! Today, we’re going to talk about something super important but often overlooked: closing your Scanner properly in Java. Now, I know what you’re thinking—why is closing a Scanner a big deal? Well, stick around and let’s dive into it!
Introduction: Why Closing Scanner Matters
Imagine you’re at a fancy party with a revolving door. If you leave it open, chaos might ensue! Similarly, leaving a Scanner open in your Java program can lead to memory leaks or other funky issues.
Leaving a Scanner open in your Java program can be a bit like forgetting to turn off the lights in your house—it might not seem like a big deal at first, but it adds up over time. Back in the early days of Java, before Java 7 introduced try-with-resources in 2011, developers had to manually remember to close their Scanners. This led to numerous bugs and frustrations, as resources weren’t always released properly.
In 2017, Stack Overflow’s annual developer survey revealed that Java was still one of the most widely used programming languages globally. With so many developers relying on Java for their projects, ensuring best practices like closing Scanners properly is crucial for maintaining code quality and efficiency.
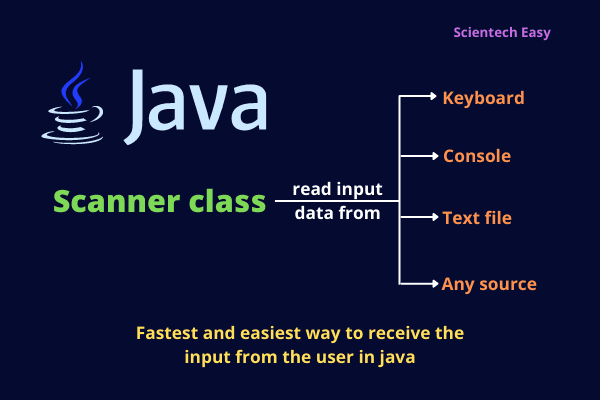
Step 1: Using Scanner to Capture Input
First things first, let’s crack open our Java code and initialize a Scanner. It’s like giving your program ears to listen to what users type.
Step 2: The Perils of Forgetting to Close
Picture this: it’s 2010, the year when Java 7 introduced try-with-resources. This nifty feature ensures that resources like Scanner are automatically closed after use. But before that, folks had to remember to close them manually. Cue potential bugs and headaches!
Step 3: How to Properly Close a Scanner
Now, let’s get down to business. Closing a Scanner is as easy as calling .close() on it when you’re done. It’s like saying “thanks for the input, Scanner, but we’re done chatting for now.”
Step 4: The Magic of try-with-resources
In 2011, Java 7 made our lives easier with try-with-resources. It’s like having a butler who closes the door behind each guest automatically after they enter. No more leaving doors (or Scanners) open by accident!
Step 5: Common Mistakes and How to Avoid Them
Oops! Did you forget to close your Scanner? Don’t worry, it happens. Just remember to wrap your code in a try-with-resources block or close your Scanner manually. It’s like remembering to lock your front door before going to bed—you wouldn’t want unexpected guests (or bugs) wandering in.
Conclusion: Keep Your Code Tidy!
By now, you’re probably a pro at closing Scanners in Java. Remember, it’s all about good habits and keeping your code neat and tidy. So go ahead, close those Scanners like a boss and enjoy smoother, bug-free programs!
Bonus Fun Facts and Tips
· Did you know the first version of Java (Java 1.0) was released way back in 1996? That’s almost ancient in tech years!
· Java Scanners are like detectives—they gather clues (input) from users and pass them on to your program.
Final Thoughts
Alright, Java adventurers, you’re now equipped with the knowledge to handle Scanners like a pro. So go forth, write awesome Java programs, and remember to always close the gate—err, Scanner—behind you! Happy coding!